
This method allows you to completely hide the elastic in a waistband.
The result is clean, discreet, and comfortable.
🔹 Create the casing
Form a tunnel through which the elastic will run.
Method:
- Fold the waistband onto itself
- Stitch all around
- Leave an opening of a few centimeters
👉 This opening allows the elastic to be threaded through
Adjust the width of the casing
The casing should be slightly wider than the elastic.
- Too narrow → difficult to thread
- Too wide → the elastic twists more easily
👉 Find a balance: the elastic should slide without floating
🔹 Insert the elastic
- Attach a safety pin or tool to the end
- Slide the elastic inside the tunnel
👉 Be careful not to twist the elastic while threading
🔹 Close the elastic
- Pull out both ends
- Close the elastic into a loop by overlapping and securing with a strong seam
- Reinsert the elastic into the casing
🔹 Distribute the gathers
- Distribute the fabric around the elastic
- Achieve even tension
👉 No area should be tighter than another
🔹 Keep the elastic in place
Once the elastic is distributed:
- Topstitch the waistband at strategic points
- center front
- center back
- sides
👉 This prevents the elastic from twisting in the tunnel
👉 And stabilizes the waistband over time
Limitation of the method
A casing waistband is simple and clean, but:
👉 The elastic can twist inside if not secured
This is why anchor points are often necessary.
⚠️ Watch points
- Twisted elastic → discomfort + poor appearance
- Poor distribution → uneven gathers
- Poorly sized casing → blocking or instability
🎯 Skills acquired
✔️ Sewing invisible elastic
✔️ Constructing a proper casing
✔️ Stabilizing elastic in a tunnel
🔗 Practical application
Direct application on the LOOP Shorts pattern:
- casing waistband
- invisible elastic
- clean and comfortable finish
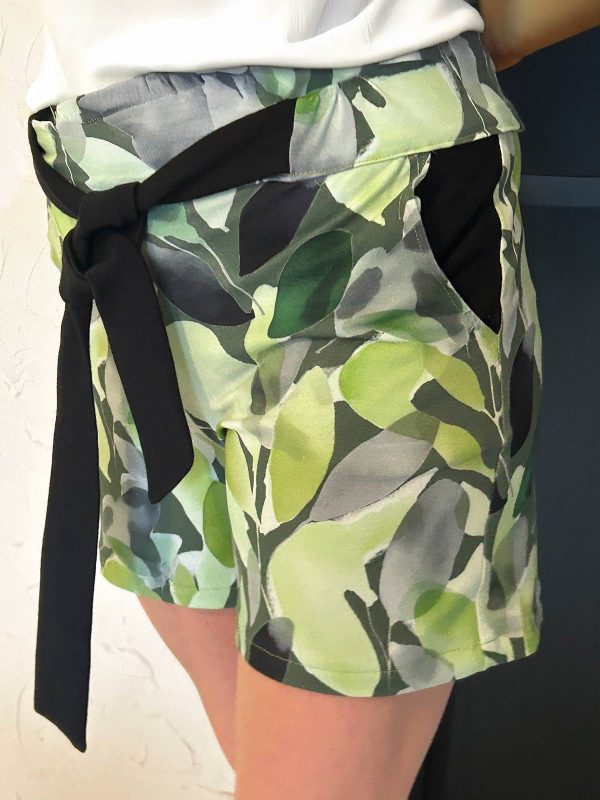
Short Loop
Short en jersey avec ceinture élastiquée
Un modèle intermédiaire pour apprendre à coudre des finitions propres.
← Previous lesson
Sewn, turned, and topstitched elastic

