
← Back to: Mastering the straight stitch, zigzag, and hem
The straight stitch is the foundation of all machine sewing.
It seems simple. It isn’t.
What you learn here is not just “pressing the pedal.”
It’s about controlling the start, the path, and the end of a seam.
Want to practice?
Download the free exercise workbook and practice straight lines, corners, and seam allowances.
Start / Reverse / Forward / Stop
Why stitch in reverse?
A machine seam is not knotted.
- The thread is not secured by a knot.
- It is held only by the tension between the upper thread and the bobbin.
- Without securing, the seam can unravel. Sometimes very quickly.
That’s why we make backstitches at the beginning and end of a seam.
How to do it?
- Position the needle at the starting point
- Stitch forward 2 or 3 stitches
- Stitch back 2 or 3 stitches
- Stitch forward again
At the end of the seam:
- Stitch back 2 or 3 stitches
- Cut
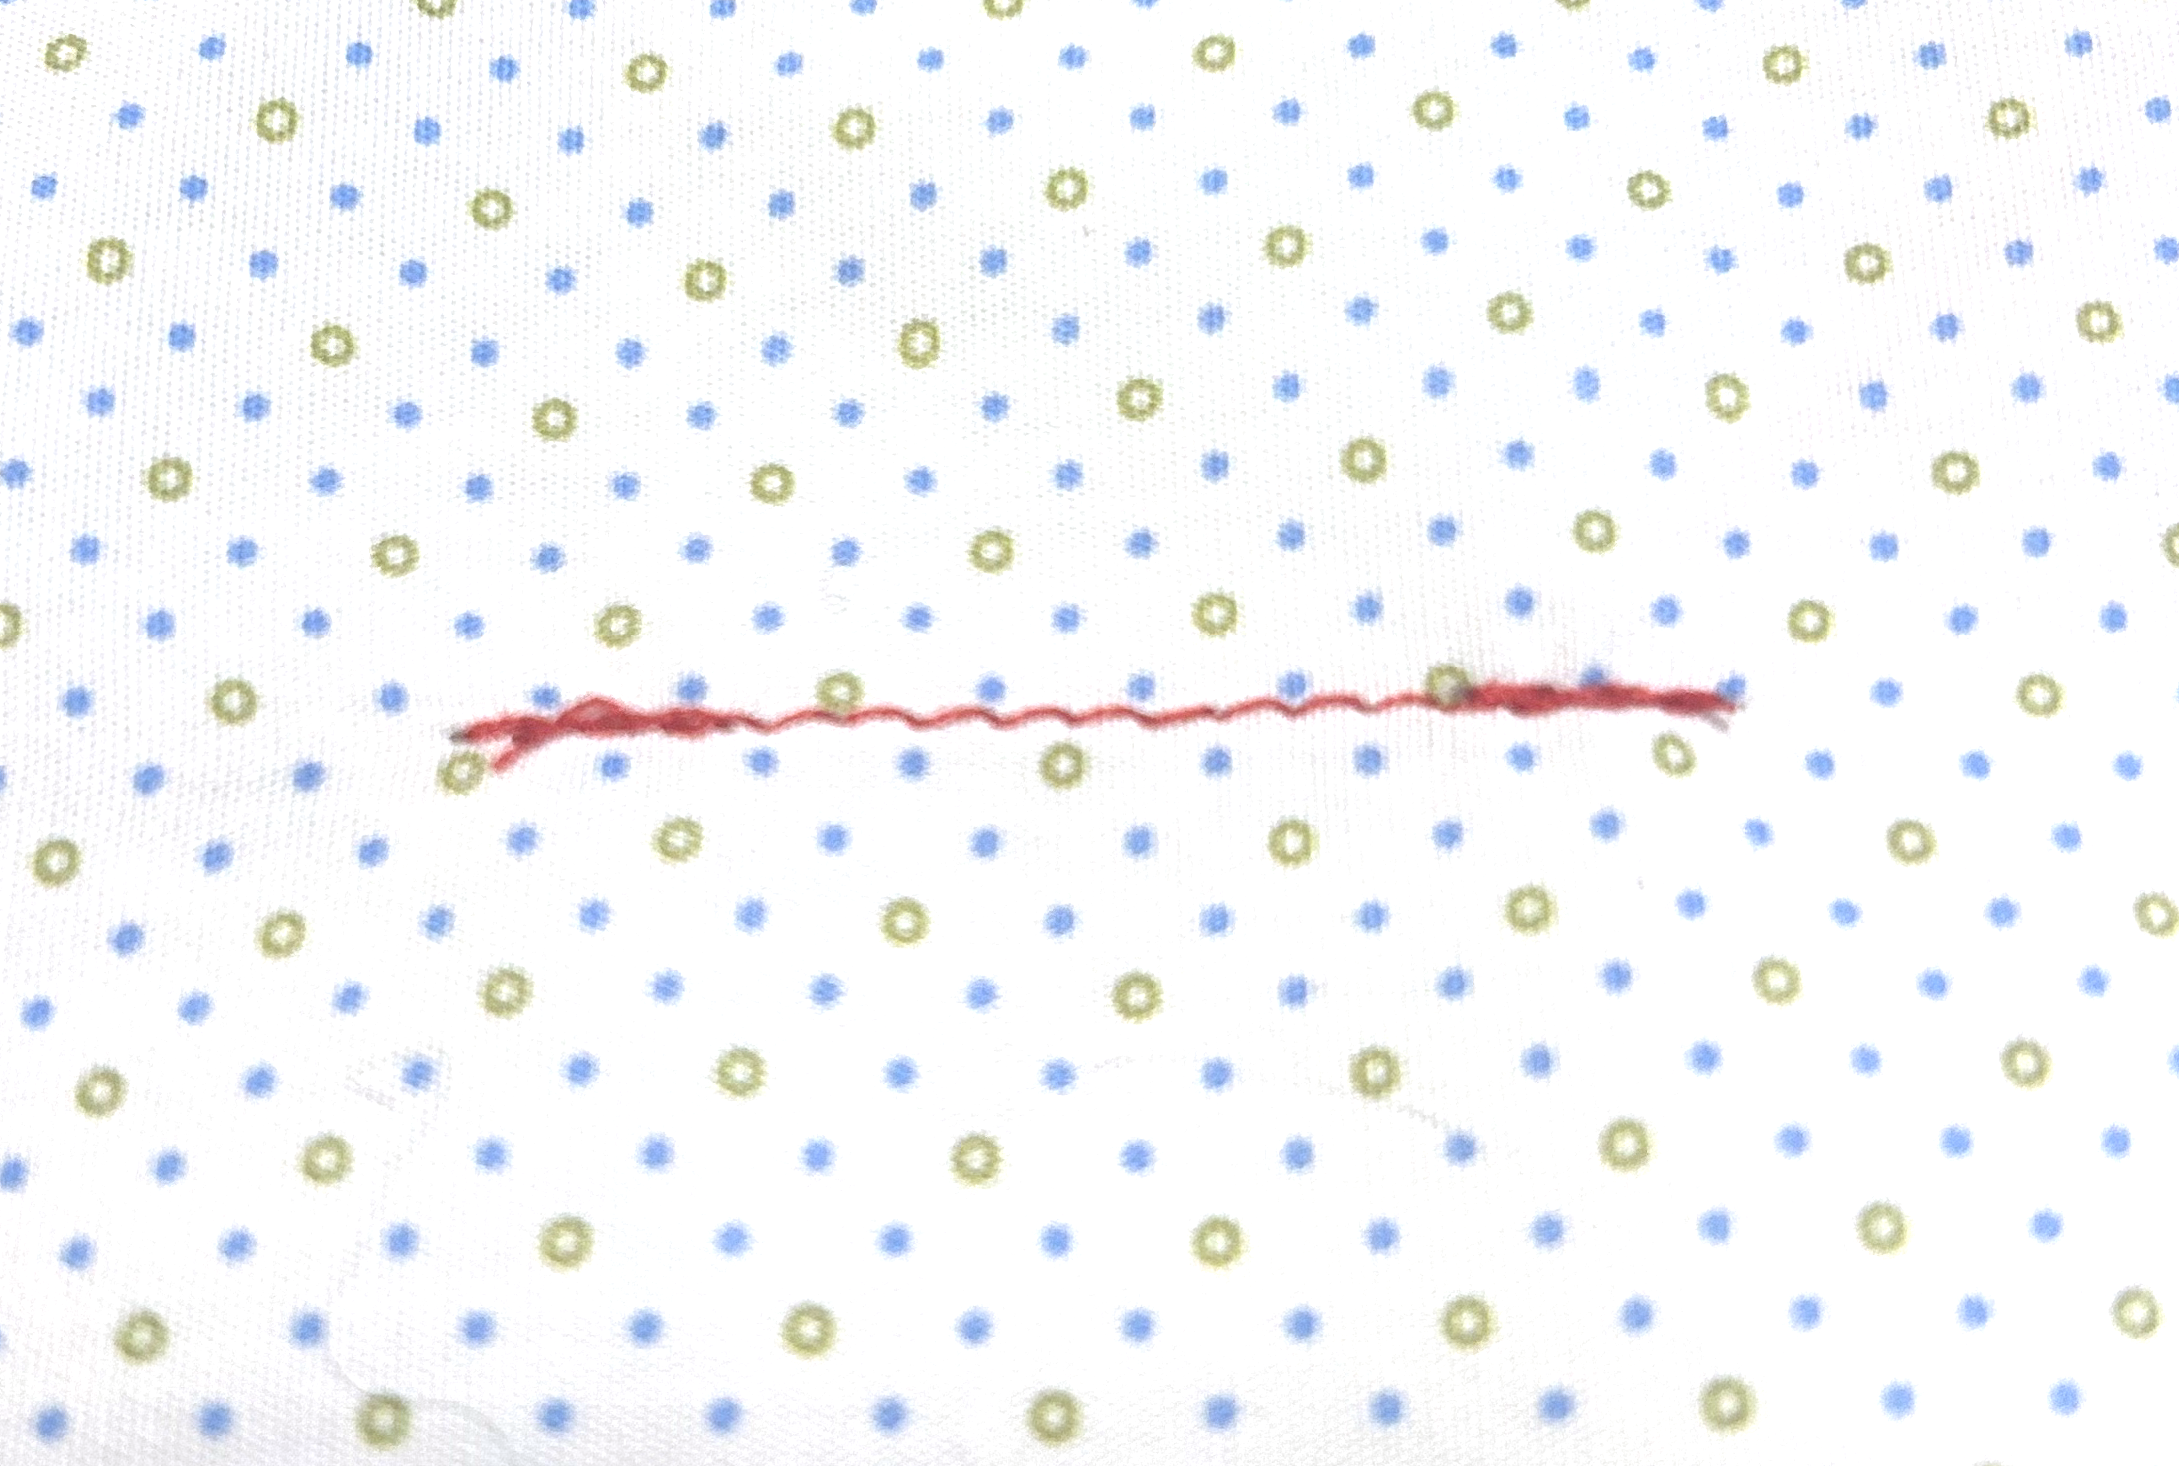
How many backstitches?
2 to 3 stitches are enough.
No need to overdo it.
Too many backstitches can lead to:
– weakening of the fabric
– an ugly bulk
– a tangled mess of thread
– jamming
Don’t over-secure. Lock it neatly.
Sewing a Corner
Making a neat corner requires a precise procedure.
Know-how
- Sew normally.
- Stop exactly at the seam allowance. (Mark it if necessary, with chalk or a pin)
- Lower the needle into the fabric.
- Lift the presser foot.
- Turn the fabric.
- Lower the foot.
- Continue sewing.
Nothing should move during the rotation.
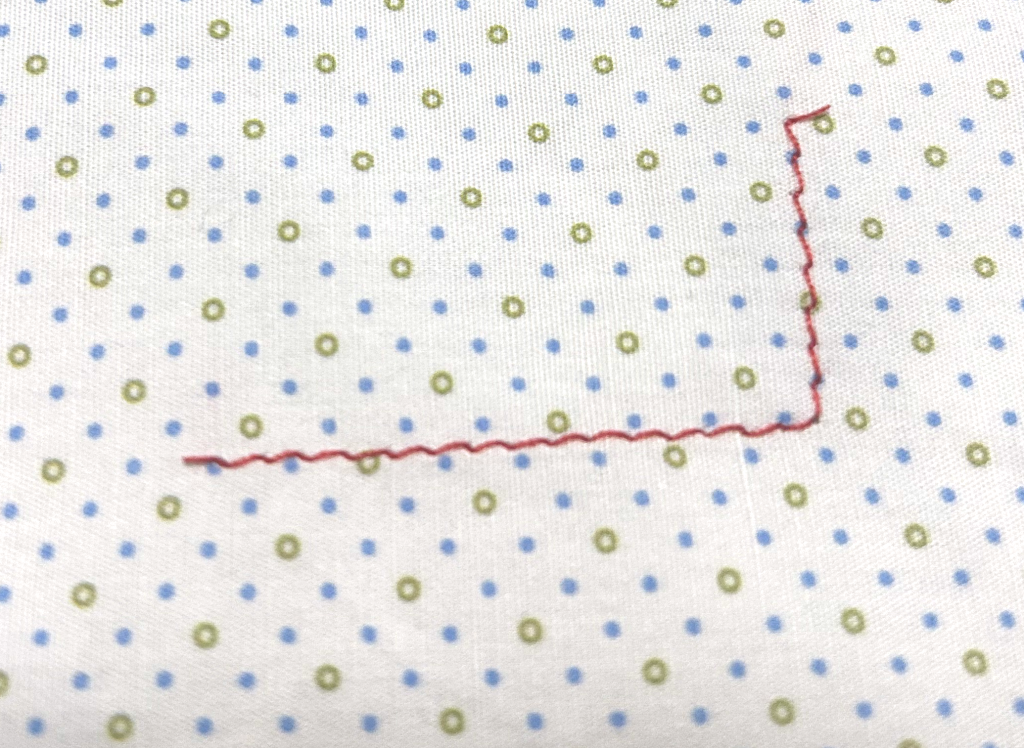
Common mistake
Turning without the needle being lowered.
Result:
- Offset
- Uneven stitching
- Approximate corner
The lowered needle acts as the pivot point.
Sewing at a Precise Distance
Most standard seam allowances are 1 cm.
Sewing “along the edge” is not enough.
You need to learn to sew at a controlled distance.
Identify your seam allowance
- Locate the 1 cm mark on the needle plate
(see page “Needle Plate“) - Align the fabric edge with this mark
- Keep this mark as a guide
Tips for Sewing Straight
To start, you can:
- Place washi tape as a visual guide
- Use a Magnetic Seam Guide
- Draw a line with chalk or a heat-erasable pen
These tools are temporary.
The goal is to develop your visual reference.
Where to look?
Don’t stare at the needle. It moves! It’s even the only point that isn’t fixed.
Look a little ahead, like when driving.
If you stare at the needle:
- You correct too late
- You zigzag
Adjusting the Needle Position
On some machines, the needle can be moved slightly left or right.
This allows you to:
- Precisely adjust the distance from the foot
- Topstitch neatly
- Adapt the seam allowance without changing your guide
You can easily switch from 1 cm to 0.7 mm or 0.5 mm distance.
(see page “The Needle“)
Straight Stitch Problems
and Their Solutions
Wavy Seam
Possible cause:
- Stitch too tight
- Tension too high
- Thin fabric not properly stabilized
Solution:
- Slightly lengthen the stitch
- Check the tension
- Stabilize if necessary
Seam Unravels
Cause:
- No backstitch
- Insufficient backstitch
Solution:
- 2 to 3 backstitches at the beginning and end
Uneven Stitching / Unintentional Zigzag
Cause:
- Staring at the needle
- Incorrect guide
- Excessive hand pressure
Solution:
- Look ahead
- Let the machine feed the fabric
- Do not pull
Thread Nest at Start
Cause:
- Threads not held to the back at the start
- Starting too fast
Solution:
- Hold threads to the back for the first few stitches
- Start slowly

