
← Back: Attaching Elastic in Sewing
Before sewing, understand what you are doing.
Elastic isn’t just for tightening.
It allows you to create and control tension between the fabric and the body.
Without this logic, sewing becomes haphazard.
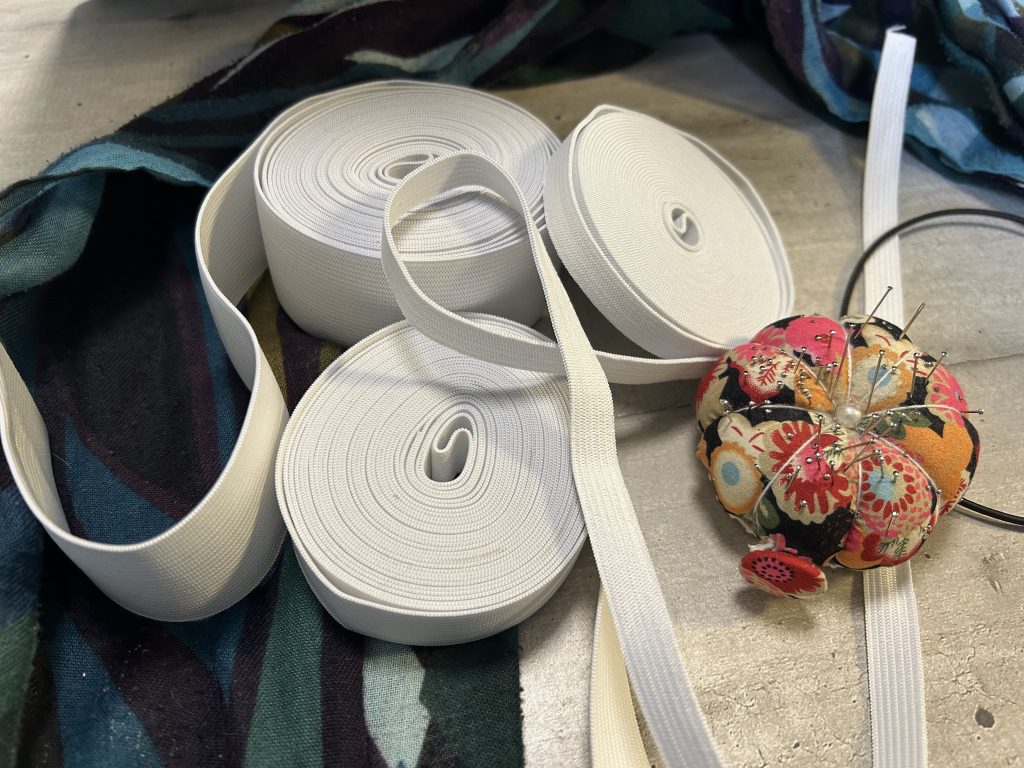
🔹 Gathering or Securing: Two Uses
Elastic can be used for:
Gathering
→ reducing fabric to create volume
(e.g., a gathered sleeve)
Securing
→ adjusting a garment to the body
(e.g., creating a waistband, finishing a lingerie edge)
👉 The intention changes the sewing method, and thus the tension applied
🔹 The Concept of Reduction
Elastic is always shorter than the fabric.
This difference creates tension.
Basic Rule
Plan for a reduction of 10 to 20%.
Example:
For a waist circumference of 80 cm
→ The elastic length will be between 64 cm and 72 cm.
Adjusting the Reduction
Before starting, check that the elastic is the correct length, according to your needs.
- Soft elastic → reduce more
- Firm elastic → reduce less
- Fitted garment → reduce more
- Comfortable garment → reduce less
👉 There is no universal value, you have to test!
🔹 Measuring and Testing Elastic
Do not cut without prior testing.
Do not rely solely on given measurements.
Method:
- Position the elastic around the body
- Adjust to the desired tension
- Check:
- that the hold is correct
- absence of discomfort
- absence of slipping
👉 Testing on the body is a priority
🔹 Why the Straight Stitch Breaks
The straight stitch is non-stretch.
Elastic is stretchable.
If the elastic is stretched and sewn with a straight stitch, the straight stitch will break.
If it’s for gathering, for decorative use, and the elastic is not under tension, everything will stay in place.
For any sewing that requires the elastic to be under tension,
you should prioritize:
- zigzag stitch
- 3-step zigzag
- stretch stitch
Next Lesson →
Gathering with Elastic

